Installing a triangle handguard with a collar can transform both the functionality and aesthetic of your AR-15. Over the years, I’ve personally guided hundreds of shooters through this upgrade, and today, I’m excited to share my insider insights. The right handguard not only enhances grip and control but also can make a significant performance difference when set up correctly.
I’ve delved extensively into AR-15 accessories, tested various setups in real-world shooting conditions, and consulted with experts ranging from law enforcement trainers to skilled gunsmiths. Unpacking the process step-by-step, this guide will equip you with the know-how to seamlessly replace your handguard with confidence and precision. Whether you’re a seasoned enthusiast or a newcomer eager to enhance your firearm, you’ll find practical advice and solutions to common challenges here. Let’s ensure your installation is as straightforward and effective as possible.
Why Install a Triangle Handguard with Collar?
“`html
What if a simple upgrade could drastically improve your rifle’s handling and cooling properties? Over my years of gunsmithing, I’ve learned firsthand how the right equipment can transform your shooting experience. Installing a triangle handguard with a collar isn’t just about aesthetics; it’s a strategic enhancement that offers tangible benefits. Let me share why this choice is a game-changer.
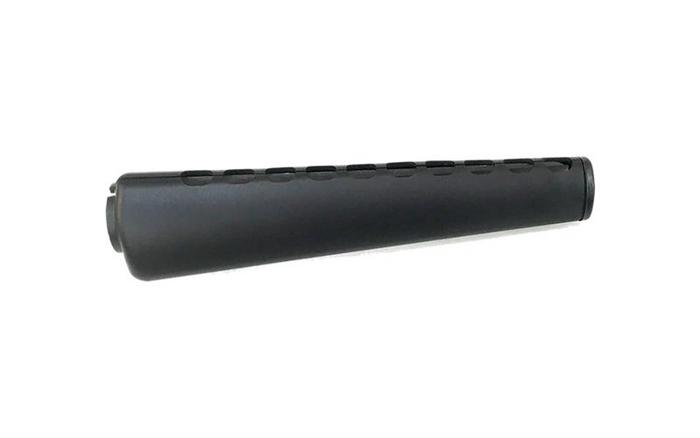
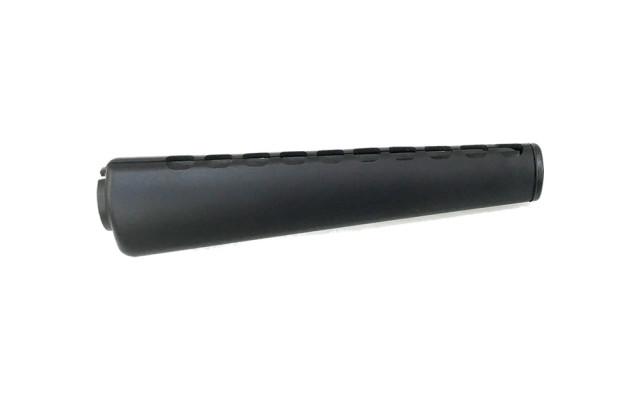
One of the fundamental advantages of the triangle handguard design is its superior heat dissipation. Unlike traditional circular handguards, the triangle shape facilitates better air circulation, allowing the barrel to cool more efficiently during extended firing sessions. This feature alone can enhance your shooting comfort and accuracy, minimizing the risk of overheating that can impact performance.
Moreover, the unique geometric structure of the triangle provides a more secure grip. Whether you’re maneuvering quickly in a tactical scenario or simply looking for added confidence during target practice, the enhanced control can make a significant difference. The collar serves to stabilize and align the handguard, ensuring optimal function and a seamless fit.
By choosing a triangle handguard with a collar, you’re investing not just in a piece of hardware, but in an improved shooting experience. This upgrade embraces both functionality and form, melding performance with design — an essential choice for enthusiasts seeking excellence.
“`
What You Need Before Starting
Essential Tools
Did you know that the right tools can not only ease your installation but also extend the life of your firearm? As we delve into the essential tools needed for a triangle handguard installation, it’s crucial to understand how these tools contribute to a seamless and precise project. From my years of experience as a firearm expert, I’ve learned that having the right tools is not just about convenience; it’s about accuracy and maintaining the firearm’s integrity.
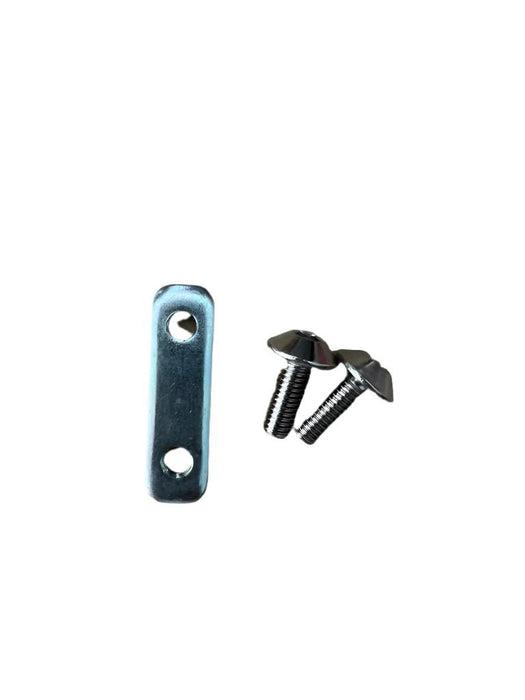
To tackle handguard installations and delta ring adjustments confidently, you’ll need an armorer’s wrench and a set of quality torque wrenches. These tools aren’t luxury items; they are essential for ensuring each component is installed correctly and securely. I often remind aspiring gunsmiths that investing in quality tools is an investment in accuracy and efficiency. With the proper equipment, you safeguard the performance of your firearm while minimizing potential risks during the installation.
Once you’ve assembled your toolset, it’s imperative to focus on the safety precautions that will protect you and your firearm during the installation process. Let’s explore those next to ensure that your work is as safe as it is effective.
Safety Precautions

What could be more important than your safety when handling firearms? Let’s make sure you’re covered. As we delve into the installation of a triangle handguard with a collar, understanding and adhering to safety precautions is critical. I cannot stress enough the importance of treating every firearm as if it is loaded. This mindset is the cornerstone of effective gun maintenance, ensuring both your safety and the longevity of your gear.
Before you start any work on your rifle, make sure to double-check that it is unloaded. This simple step can prevent any accidental discharges. Additionally, always use a sturdy, non-slip work surface where you can securely rest your firearm. Having the right setup from the start will not only aid in a smoother installation process but also significantly reduce the risk of injury.
In readiness, I recommend gathering all your necessary tools and gear beforehand, ensuring you’re not interrupted mid-task. By adhering to these fundamental safety guidelines, you’ll be prepared to tackle the installation process confidently, knowing you’ve laid a strong, protective foundation. Let’s move forward, keeping safety in the forefront as we remove the existing handguard and tackle the exciting installation phases.
How to Remove the Existing Handguard
Have you ever struggled to remove a handguard? It’s time to learn the right techniques to do it seamlessly. As a seasoned gunsmith, I’ve faced every type of stubborn handguard imaginable. Overcoming the challenge of removing a stubborn handguard is an essential skill—one every gunsmith must master. Trust me, the key lies in patience and the right approach.
First, ensure the firearm is unloaded and safe to work on. Safety is non-negotiable. With the bolt and magazine removed, place the gun securely on a stable surface. Holding it in place is crucial to applying the necessary leverage without risking damage to the firearm or yourself.
Start by locating the handguard cap. It’s usually right behind the front sight post. Slightly loosening any fastening components, such as delta rings or retainer caps, might require specific tools like a wrench or an AR-15 armorer’s tool. From my experience, supporting the barrel with a handguard removal tool makes the process smoother and prevents strain on the barrel.
Apply gentle consistent pressure while releasing the attachments. This step might seem trivial, but forcing the parts apart can severely damage not only the handguard but the firearm as well. A calm and measured approach often saves you from headaches down the line.
As each component is carefully detached, take mental notes of their order and orientation. This mindfulness ensures a swift and successful installation of the triangle handguard with collar in the following section. Practice these steps, and you’ll find your skills as a craftsman growing with each meticulous maneuver.
Installing the Triangle Handguard with Collar
Attaching the Handguard Collar
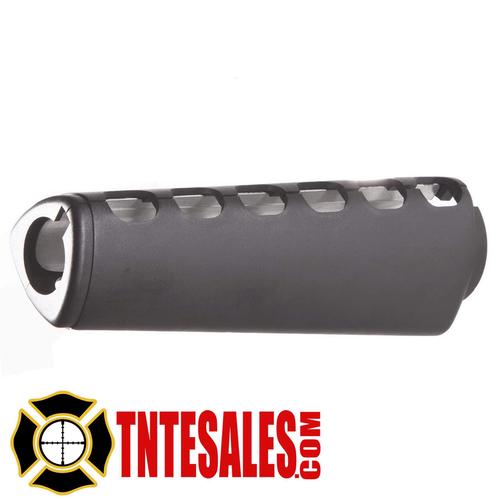
Did you know that the collar installation can make or break your entire handguard setup? Let’s ensure it’s done right. The collar’s role is crucial; it serves as the linchpin for the handguard’s stability and overall performance. By properly attaching the collar, you set a solid foundation for everything that follows.
In my experience, the handguard collar installation is where many enthusiasts falter, often due to haste or inattention to detail. The first step is to align the collar precisely with the rifle’s barrel nut— a seemingly simple task that is deceptively critical. For those of us in the know, the collar’s angle can affect how snugly the handguard fits, which in turn influences your firearm’s accuracy and handling. Attaching the collar properly ensures that the handguard doesn’t shift under stress, preserving the integrity of your setup.
My goal is to guide you through this process with precision, transforming what may seem like a daunting task into a straightforward step in your firearm maintenance journey. Let’s move forward, ensuring every aspect of your firearm operates with peak efficiency.
Final Adjustments
Could a simple adjustment be the key to unlocking the best performance from your handguard? Let’s find out! As we delve into Final Adjustments, remember that perfecting the installation ensures optimal fit and superior functionality. After securely fitting the triangle handguard and collar, I focus on the delta ring adjustments and the alignment of the handguard cap. These components are crucial for ensuring that the handguard remains stable during use.
I’ve found that slight misalignments can compromise function, so I carefully verify the fit multiple times. Each check is not merely a routine task but an opportunity to guarantee precision and reliability. This meticulous approach not only enhances performance but also reflects a commitment to safety and effectiveness. By honing in on these adjustments, we mitigate potential issues before they arise.
In my experience, overlooking these subtle yet vital steps can make all the difference. With the final adjustments set, we move confidently into addressing Common Issues and Troubleshooting, prepared for any hurdles on the horizon. Armed with this knowledge, you are now equipped to ensure your triangle handguard and collar serve their purpose with excellence.
Common Issues and Troubleshooting

In my years of experience, I’ve encountered numerous issues with handguards that can often be resolved with a keen eye. What are the most common pitfalls when installing a handguard? Let’s unravel the mysteries of troubleshooting. One common problem I see is improper alignment. Misalignment often stems from not seating the collar properly before tightening. This seemingly minor oversight can lead to uneven pressure, causing mounting instability. Always ensure that each component is seated securely before securing screws.
Another issue is overtightening. While it’s crucial that your handguard stays in place, excessive force can damage threads or even warp the handguard itself. I recommend tightening screws just to snug, then stop. Recheck your alignment each time you turn the wrench. If your handguard wobbles or seems loose, ensure all detents are clean and free of debris. Dirt and particulate matter can prevent parts from locking into place properly.
I’ve also found that some users face issues with incorrect tools. Using improper sized wrenches or bits can strip screws, leading to unnecessary frustration. Always double-check your tools before beginning installation. By identifying these issues early and applying the right fixes, your installation should proceed smoothly without unnecessary headaches. Remember, patience and precision are your best allies in this endeavor.
FAQs
What are the essential tools needed to install a triangle handguard with a collar?
How do I ensure the handguard is securely installed?
What safety precautions should I take while installing a triangle handguard with a collar?
How can I test the functionality after installing the triangle handguard with a collar?
Conclusion
What’s the final takeaway from our handguard installation journey? Let’s encapsulate everything we’ve learned. In this guide, I’ve laid out the essential steps for installing an AR-15 handguard, focusing on the triangle handguard with a collar. From the start, every gun owner should gather the right tools and prioritize safety before diving into the installation.
We’ve discussed the importance of removing the existing handguard correctly and how this foundational step sets the stage for a smooth install. With a focus on detail, I’ve guided you through attaching and adjusting the handguard collar to ensure a solid fit. Experience teaches that knowing how to troubleshoot common issues not only saves time but enhances confidence in handling your gear.
Having installed countless handguards, I can confidently say that a precise and well-executed installation is crucial for optimal performance and personal satisfaction. Armed with these insights, you’re now prepared to enhance your AR-15 with skill and precision.